This article explains how to change the background color of a photo in Photoshop. It includes information on several tools suitable for making a selection and multiple methods for applying color to the selected background.
How to Change Background Color in Photoshop 2022
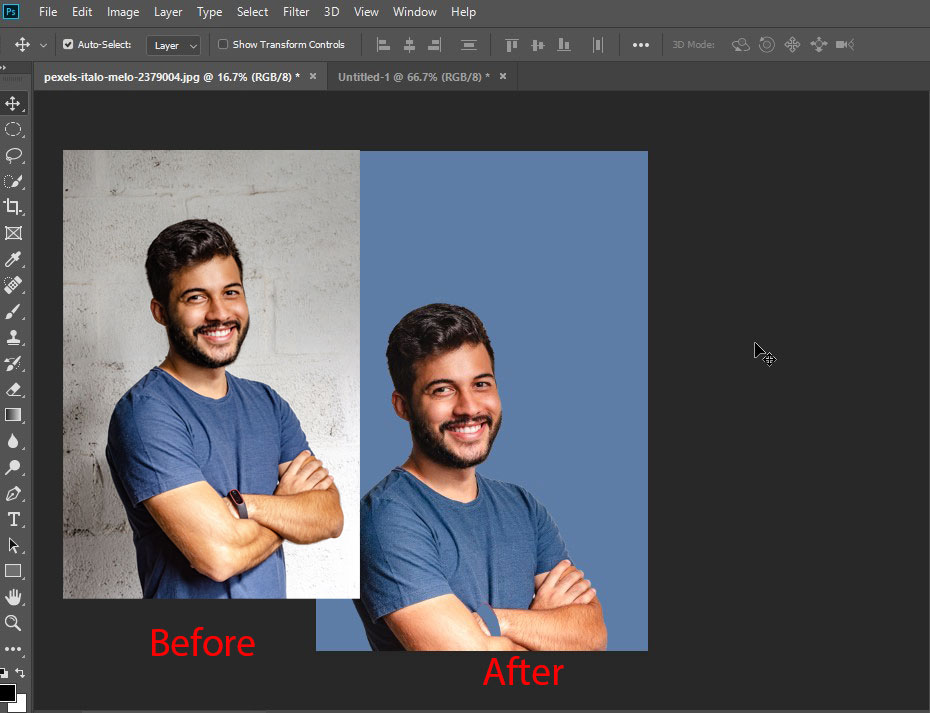
Change the Background Color of a Photo In Photoshop
Before you change the color of the background in Photoshop you need to select it. Here are a few ways to do it, whether you’re working on Windows or macOS:
Use the Magic Wand Tool
The Magic Wand tool is quick and dirty and works best when there are stark differences between the foreground and background, but it can work rather well if you’re short on time or patience.
Use the Lasso Tool
If the magic wand is a bit too heavy-handed or not nuanced enough to select all of your background, the lasso tool can be helpful. There are three you can leverage for the same purpose. Select and hold the third-option in the left-hand menu to be given a choice. The standard lasso requires drawing around the background by hand; Polygonal Lasso will let you draw defined, straight lines; Magnetic Lasso will stick to existing lines and edges.
When you’ve finished drawing around your background, either connect back to the starting point to finalize it, or press Ctrl+Click. If you’re using a tablet running Windows 10, pressing and holding on the screen will give you the option to right-click, which opens a contextual menu with additional functions. Select the one you need, then tap for the same function.
Use the Masking Tool
If you want a super precise way of selecting the background of an image, you can use the masking tool. It’s the tool second-from-bottom in the left-hand menu. Select it, then use a paintbrush or similar tool to “paint” your selection. This can be combined with the above methods to fine-tune an existing selection. You should see the areas you’ve selected appear in red. When you’ve happy with your selection, select the masking tool again to see your selection in dashed lines.
Once you select the photo proper then follow the following steps: –
- On Windows and macOS, press F7 to open the layers window.
- Select New Layer to create a new layer. It’s the second icon from the right.
- Select Fill Tool from the left-hand menu. It looks like a paint bucket and is called the Paint Bucket Tool in some versions of Photoshop.
- Use the color palette at the base of the left-hand menu to select your background color, then simply select within your selection to create a blank color.
Was this page helpful?